Tile Adhesive Adjustment Time Test according to ISI

1. Aim

To determine the adjustment time of tile adhesive, i.e. the maximum time during which a tile can be repositioned after fixing without affecting bonding.

2. Apparatus / Materials Required

  • Tile adhesive sample
  • Clean water
  • Mixing tray / mixer
  • Notched trowel (6–10 mm)
  • Cementitious substrate (tile base)
  • Ceramic tile pieces (50 mm × 50 mm)
  • Timer / stopwatch
  • Marker / chalk

3. Method / Procedure

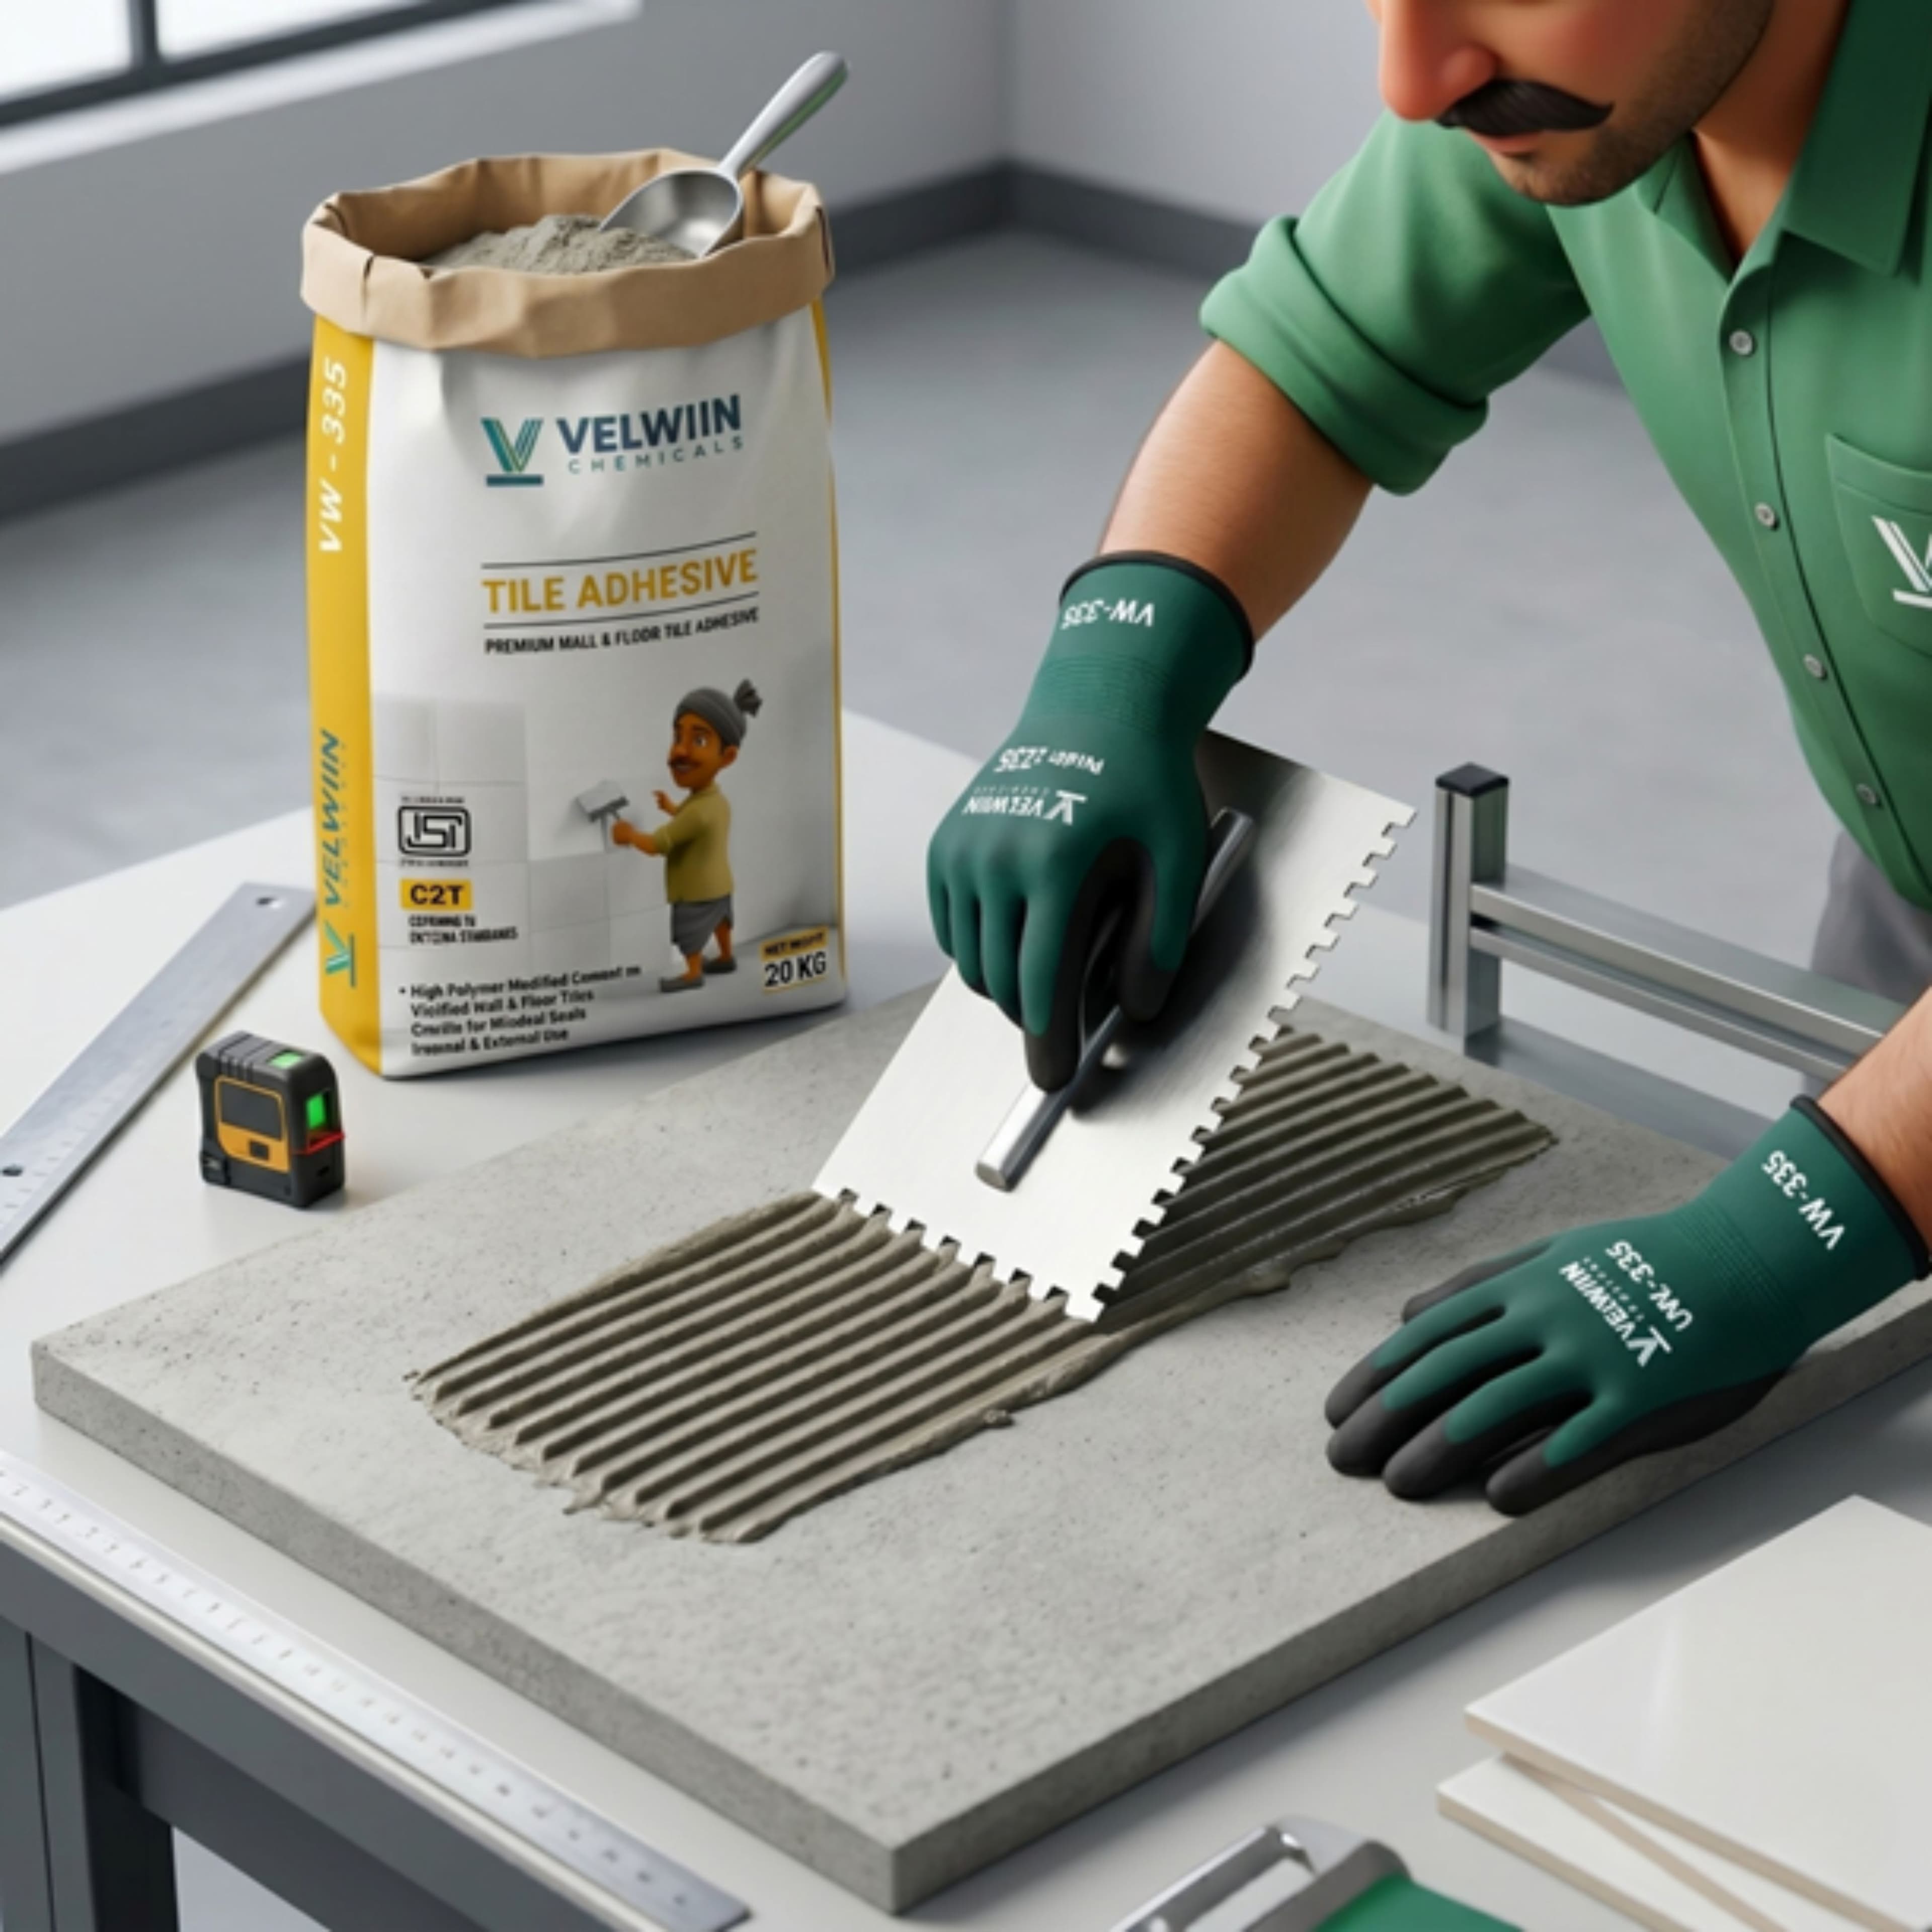
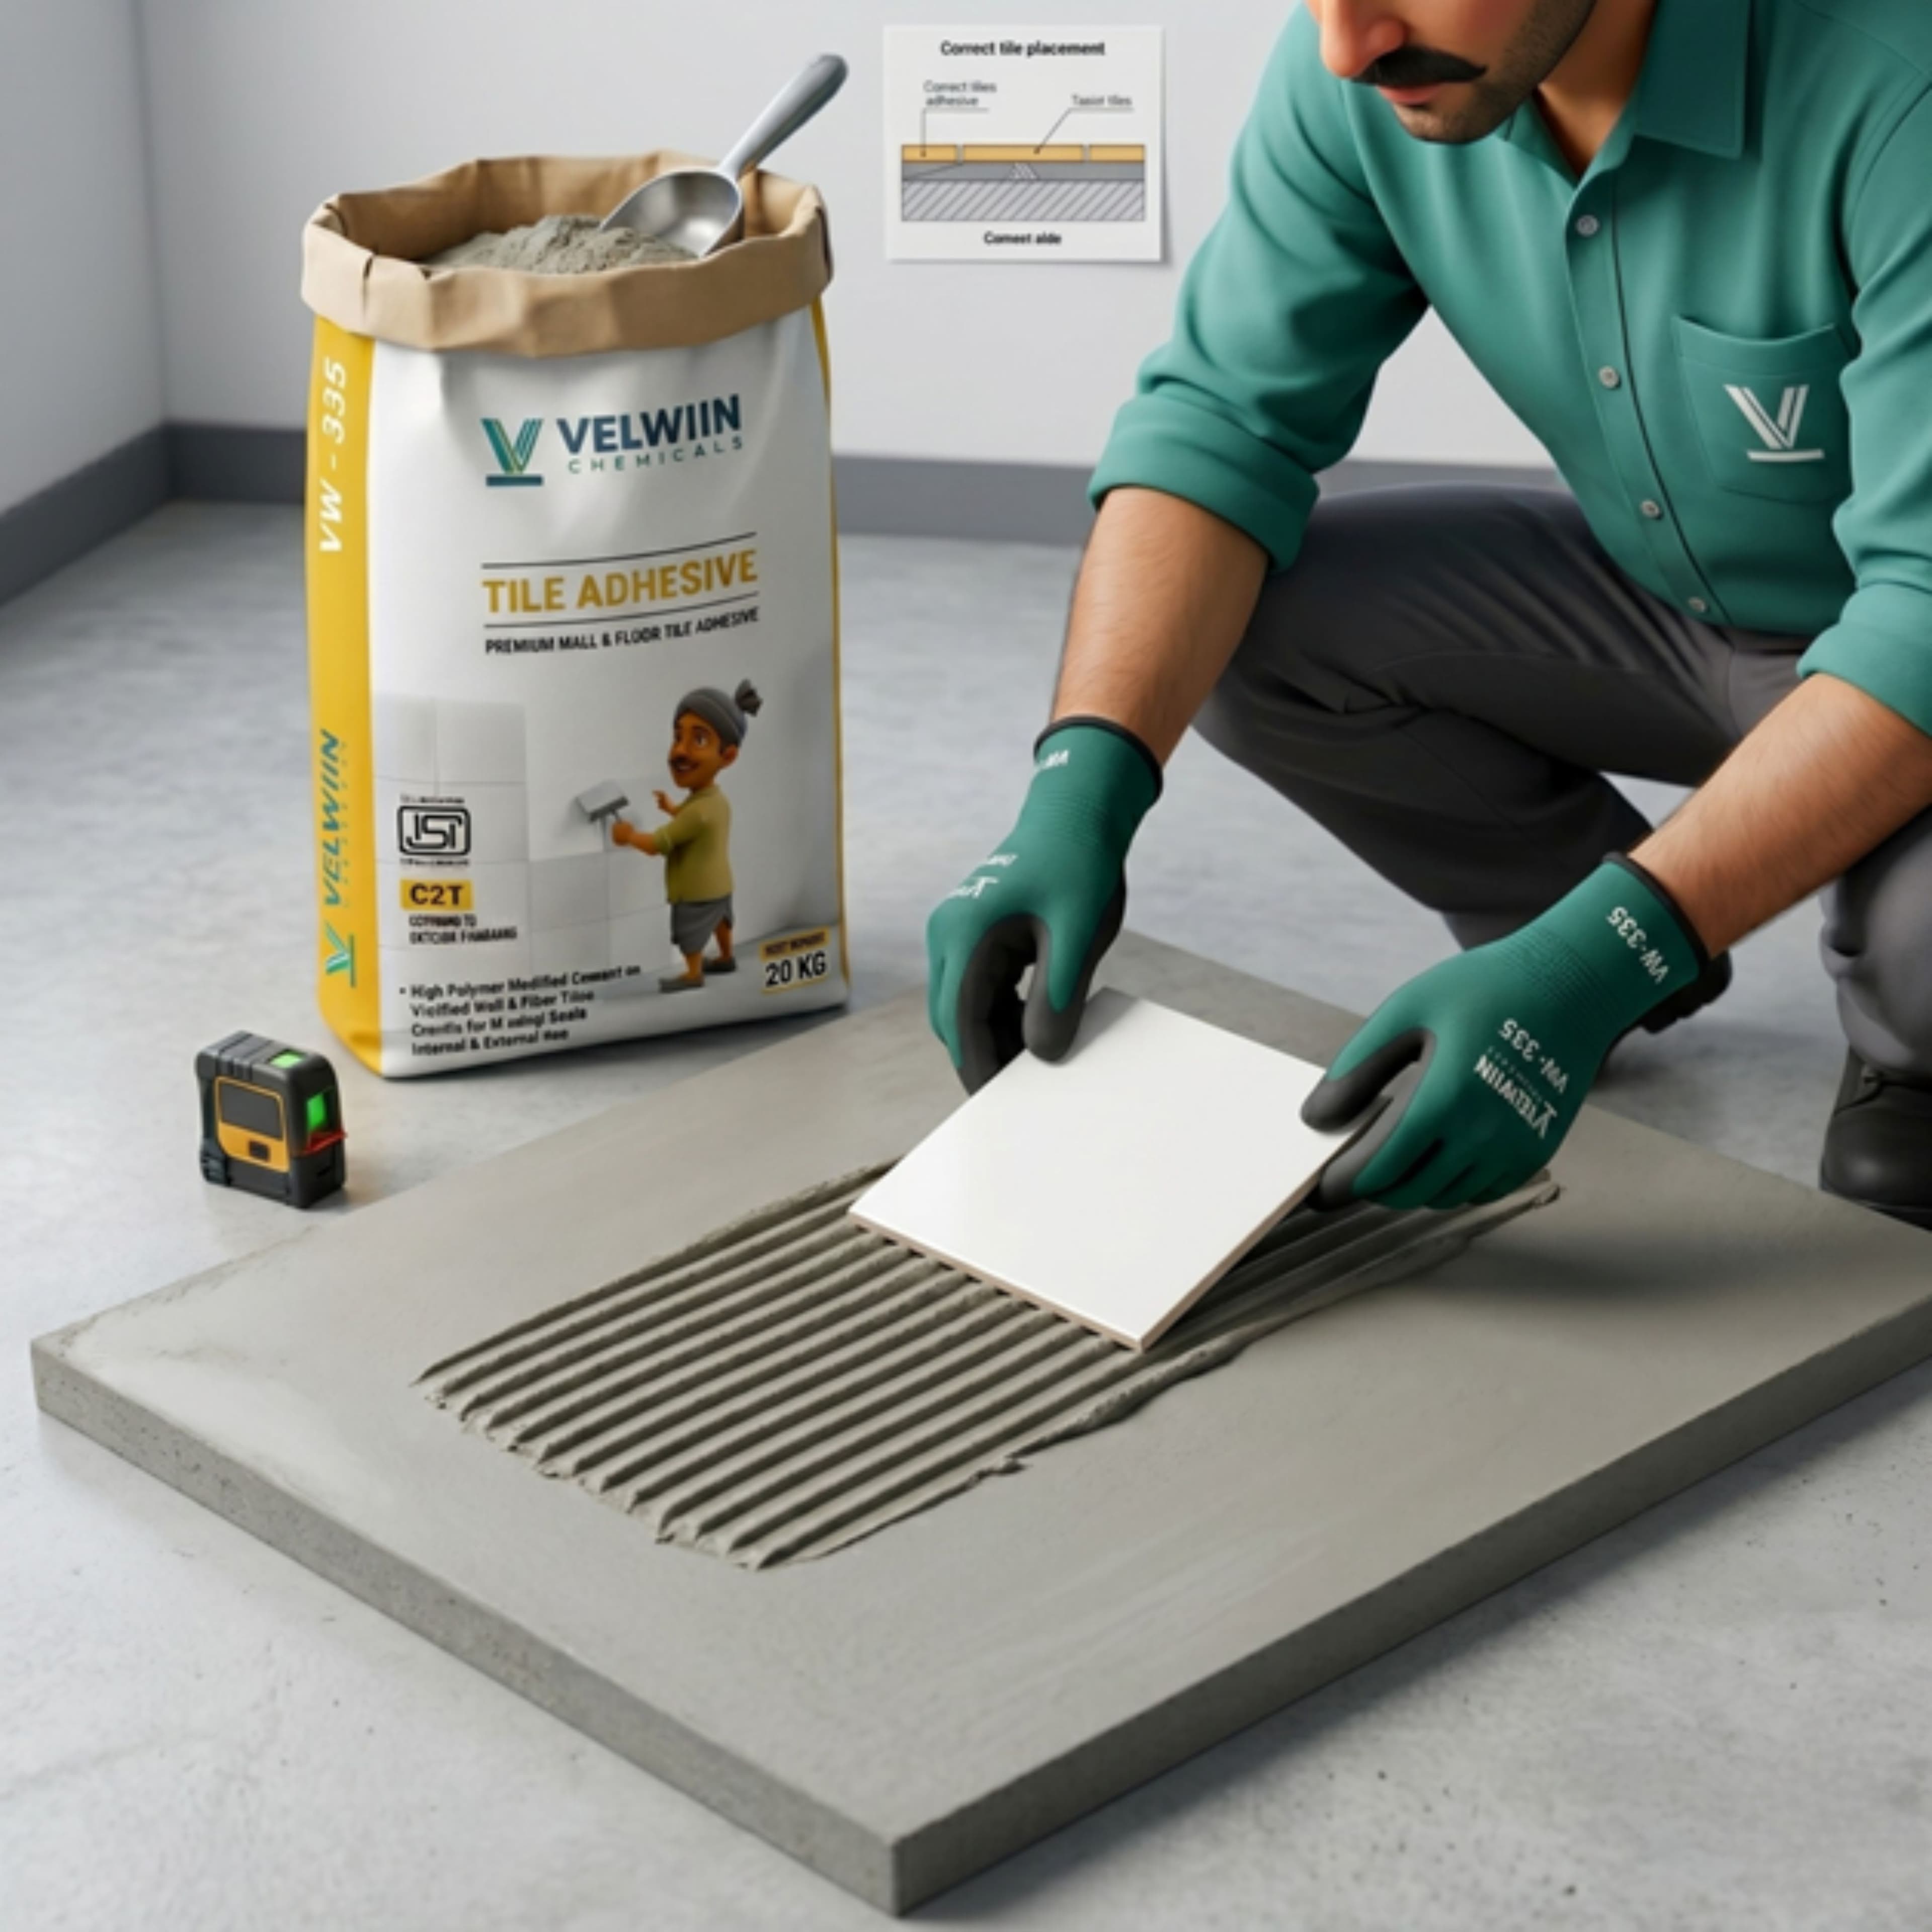
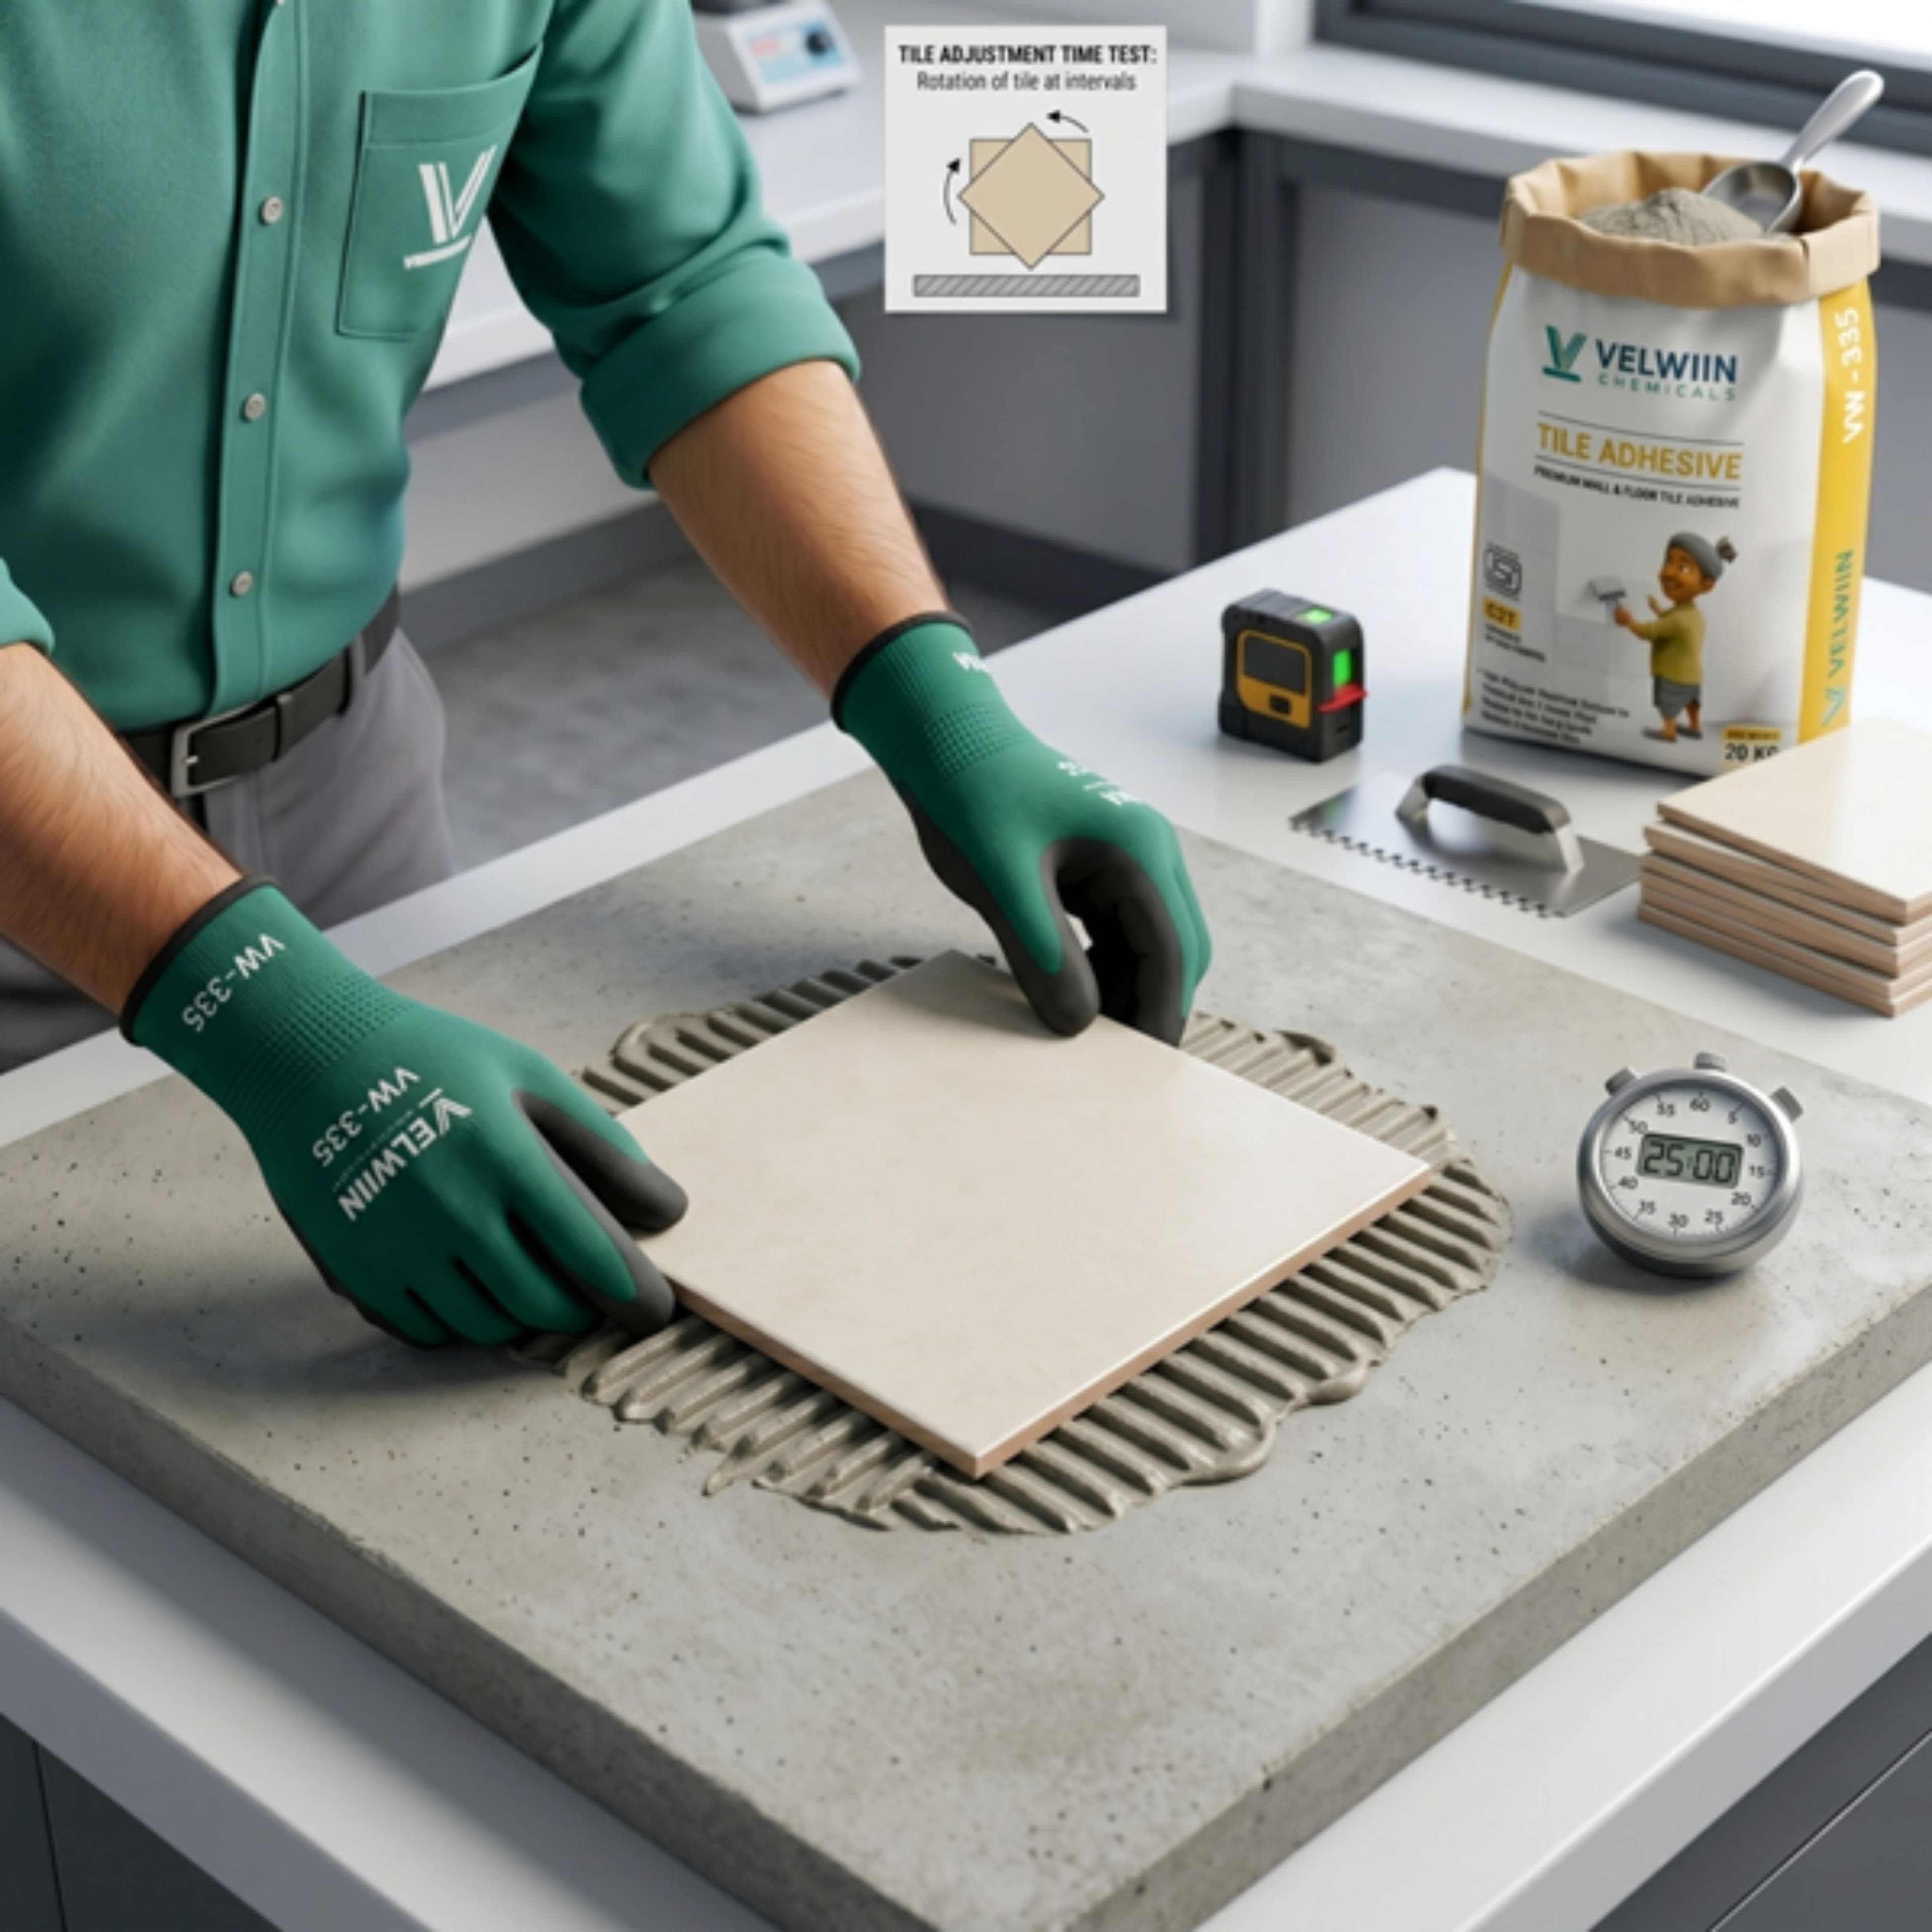
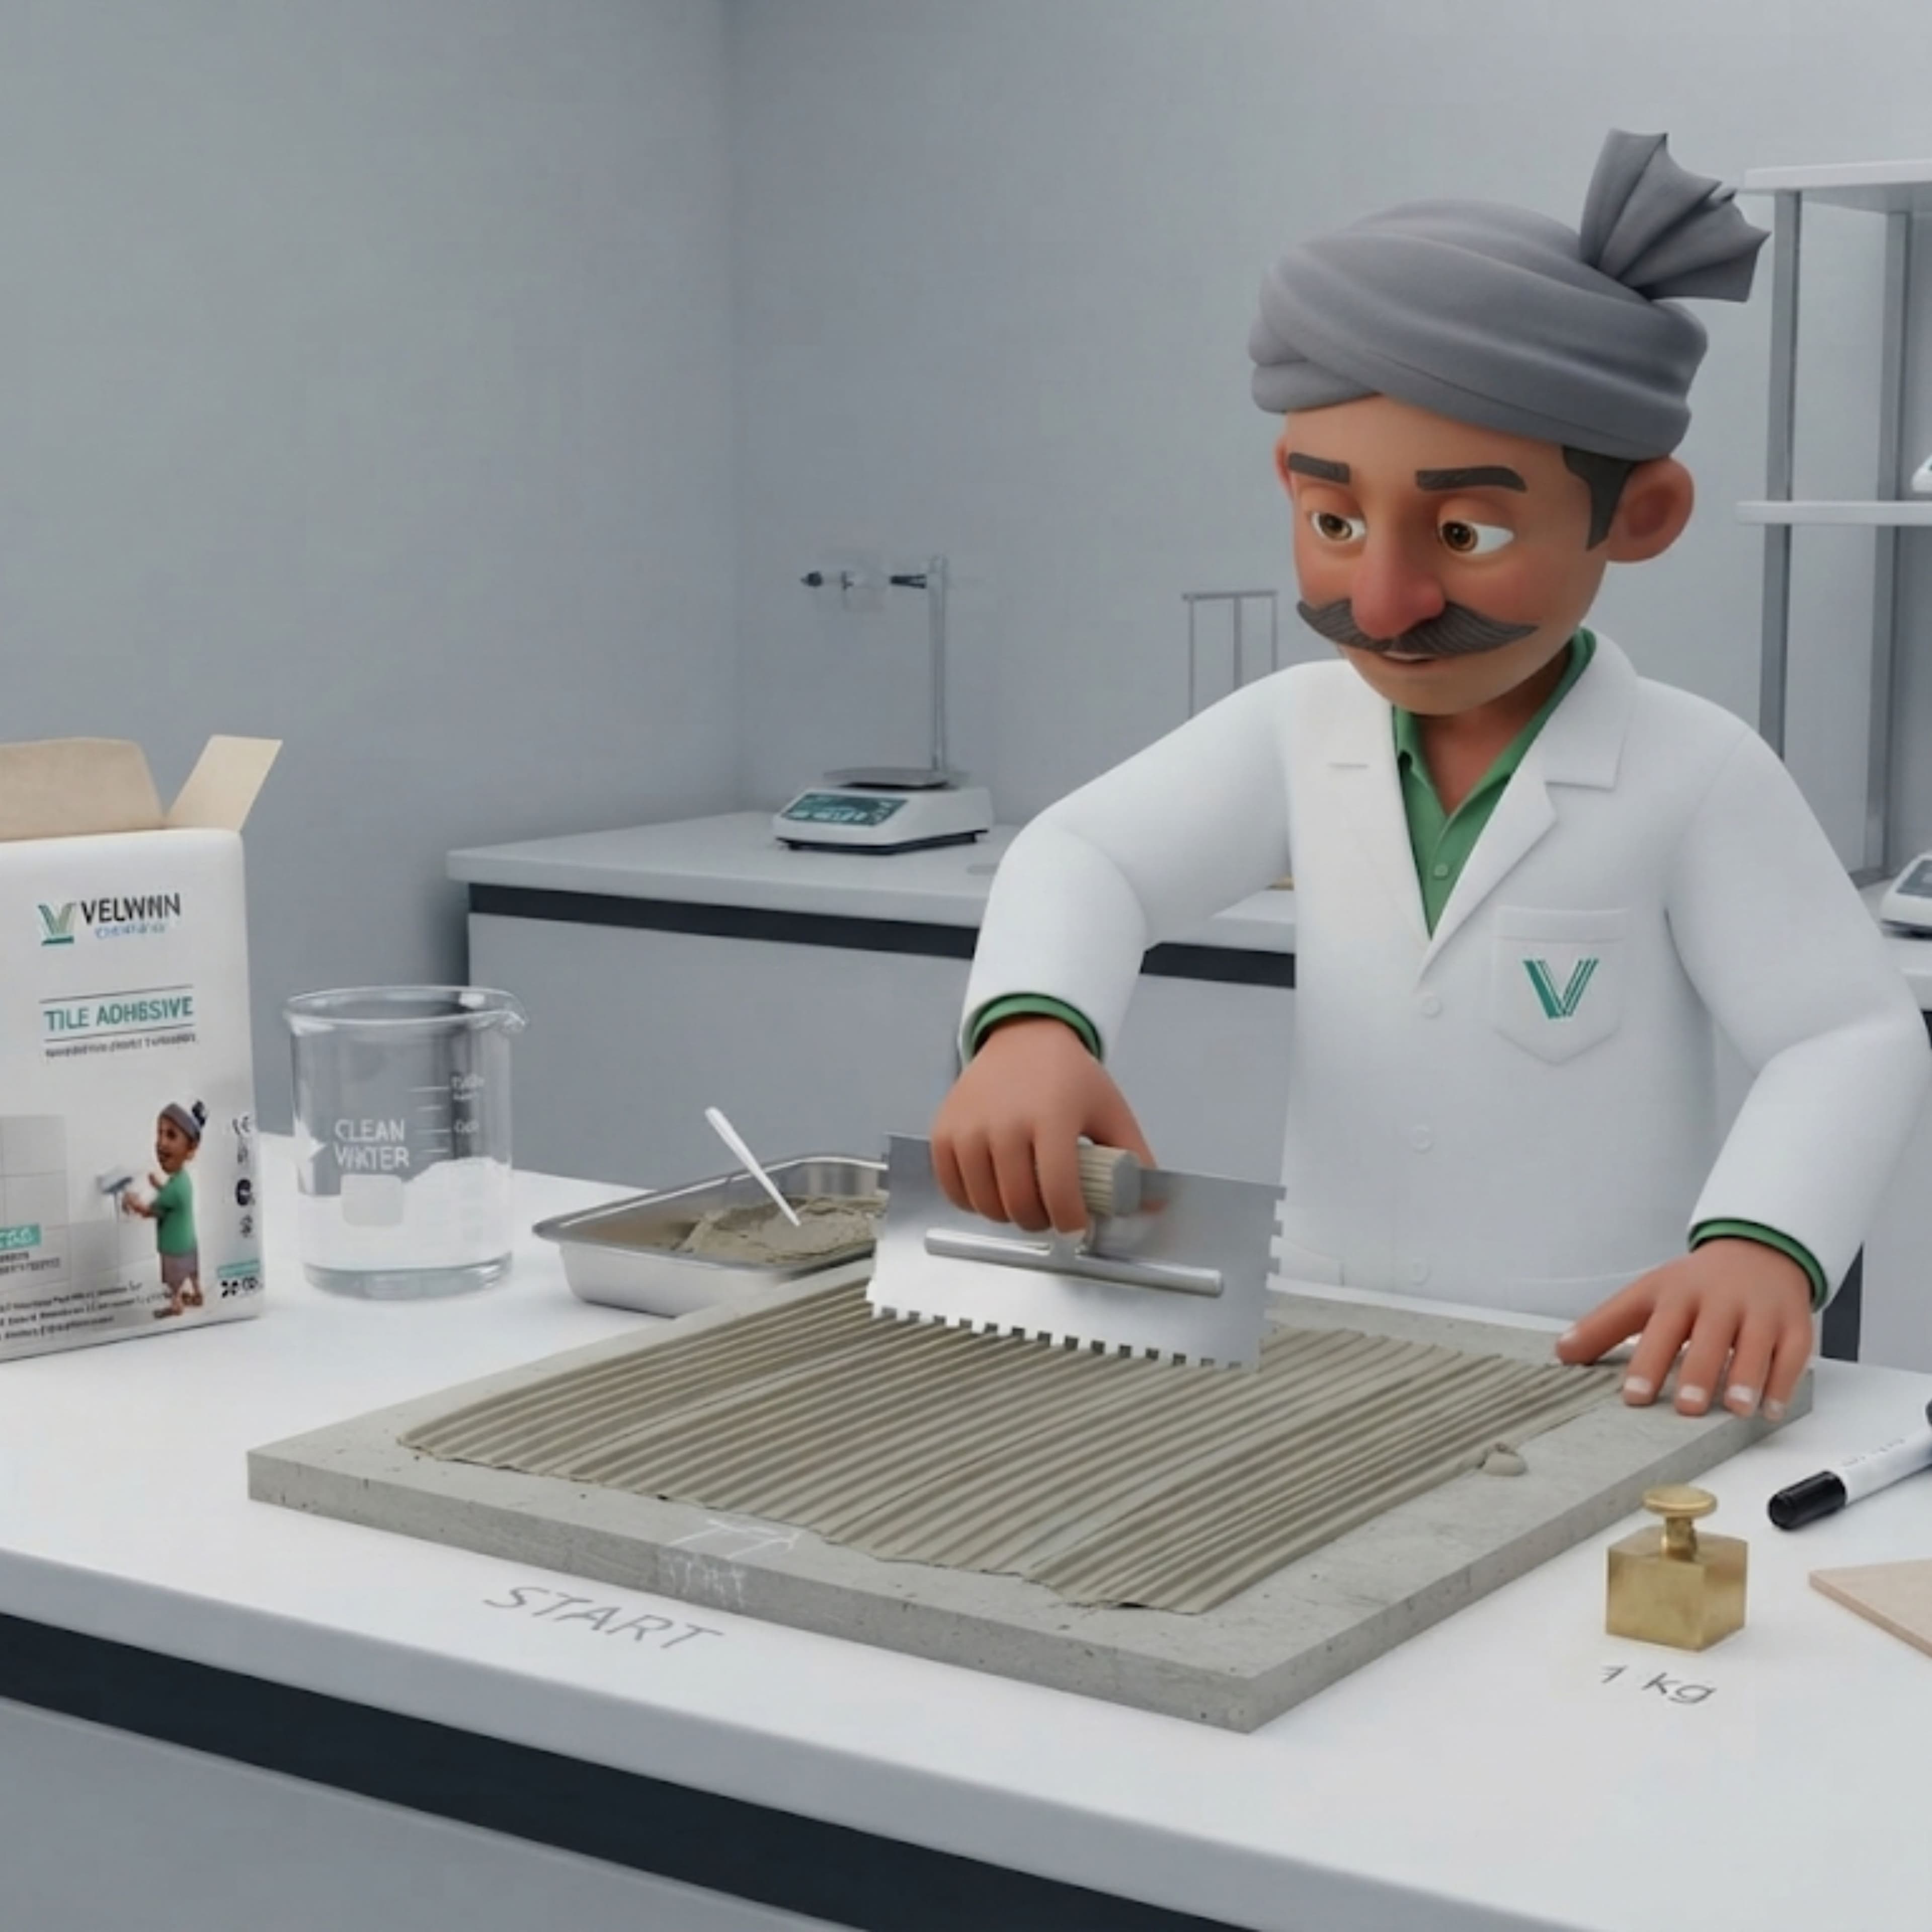
The tile adhesive is prepared by mixing it with clean water as per the manufacturer’s recommended proportion until a uniform paste is achieved. The mixture is allowed to rest for 5–10 minutes (slake time) and then remixed. The adhesive is applied evenly on a clean and dry substrate using a notched trowel at a 45° angle to form uniform ribs. Immediately after application, tile pieces of 50 mm × 50 mm size are fixed on the adhesive surface and a timer is started. At specified time intervals (0 to 45 minutes), each tile piece is rotated to 90° and then brought back to its original position without lifting it from the adhesive. During this process, only normal hand pressure is applied. The ease of rotation is observed carefully at each interval. The adjustment time is determined as the maximum time at which the tile can be repositioned easily without applying force.
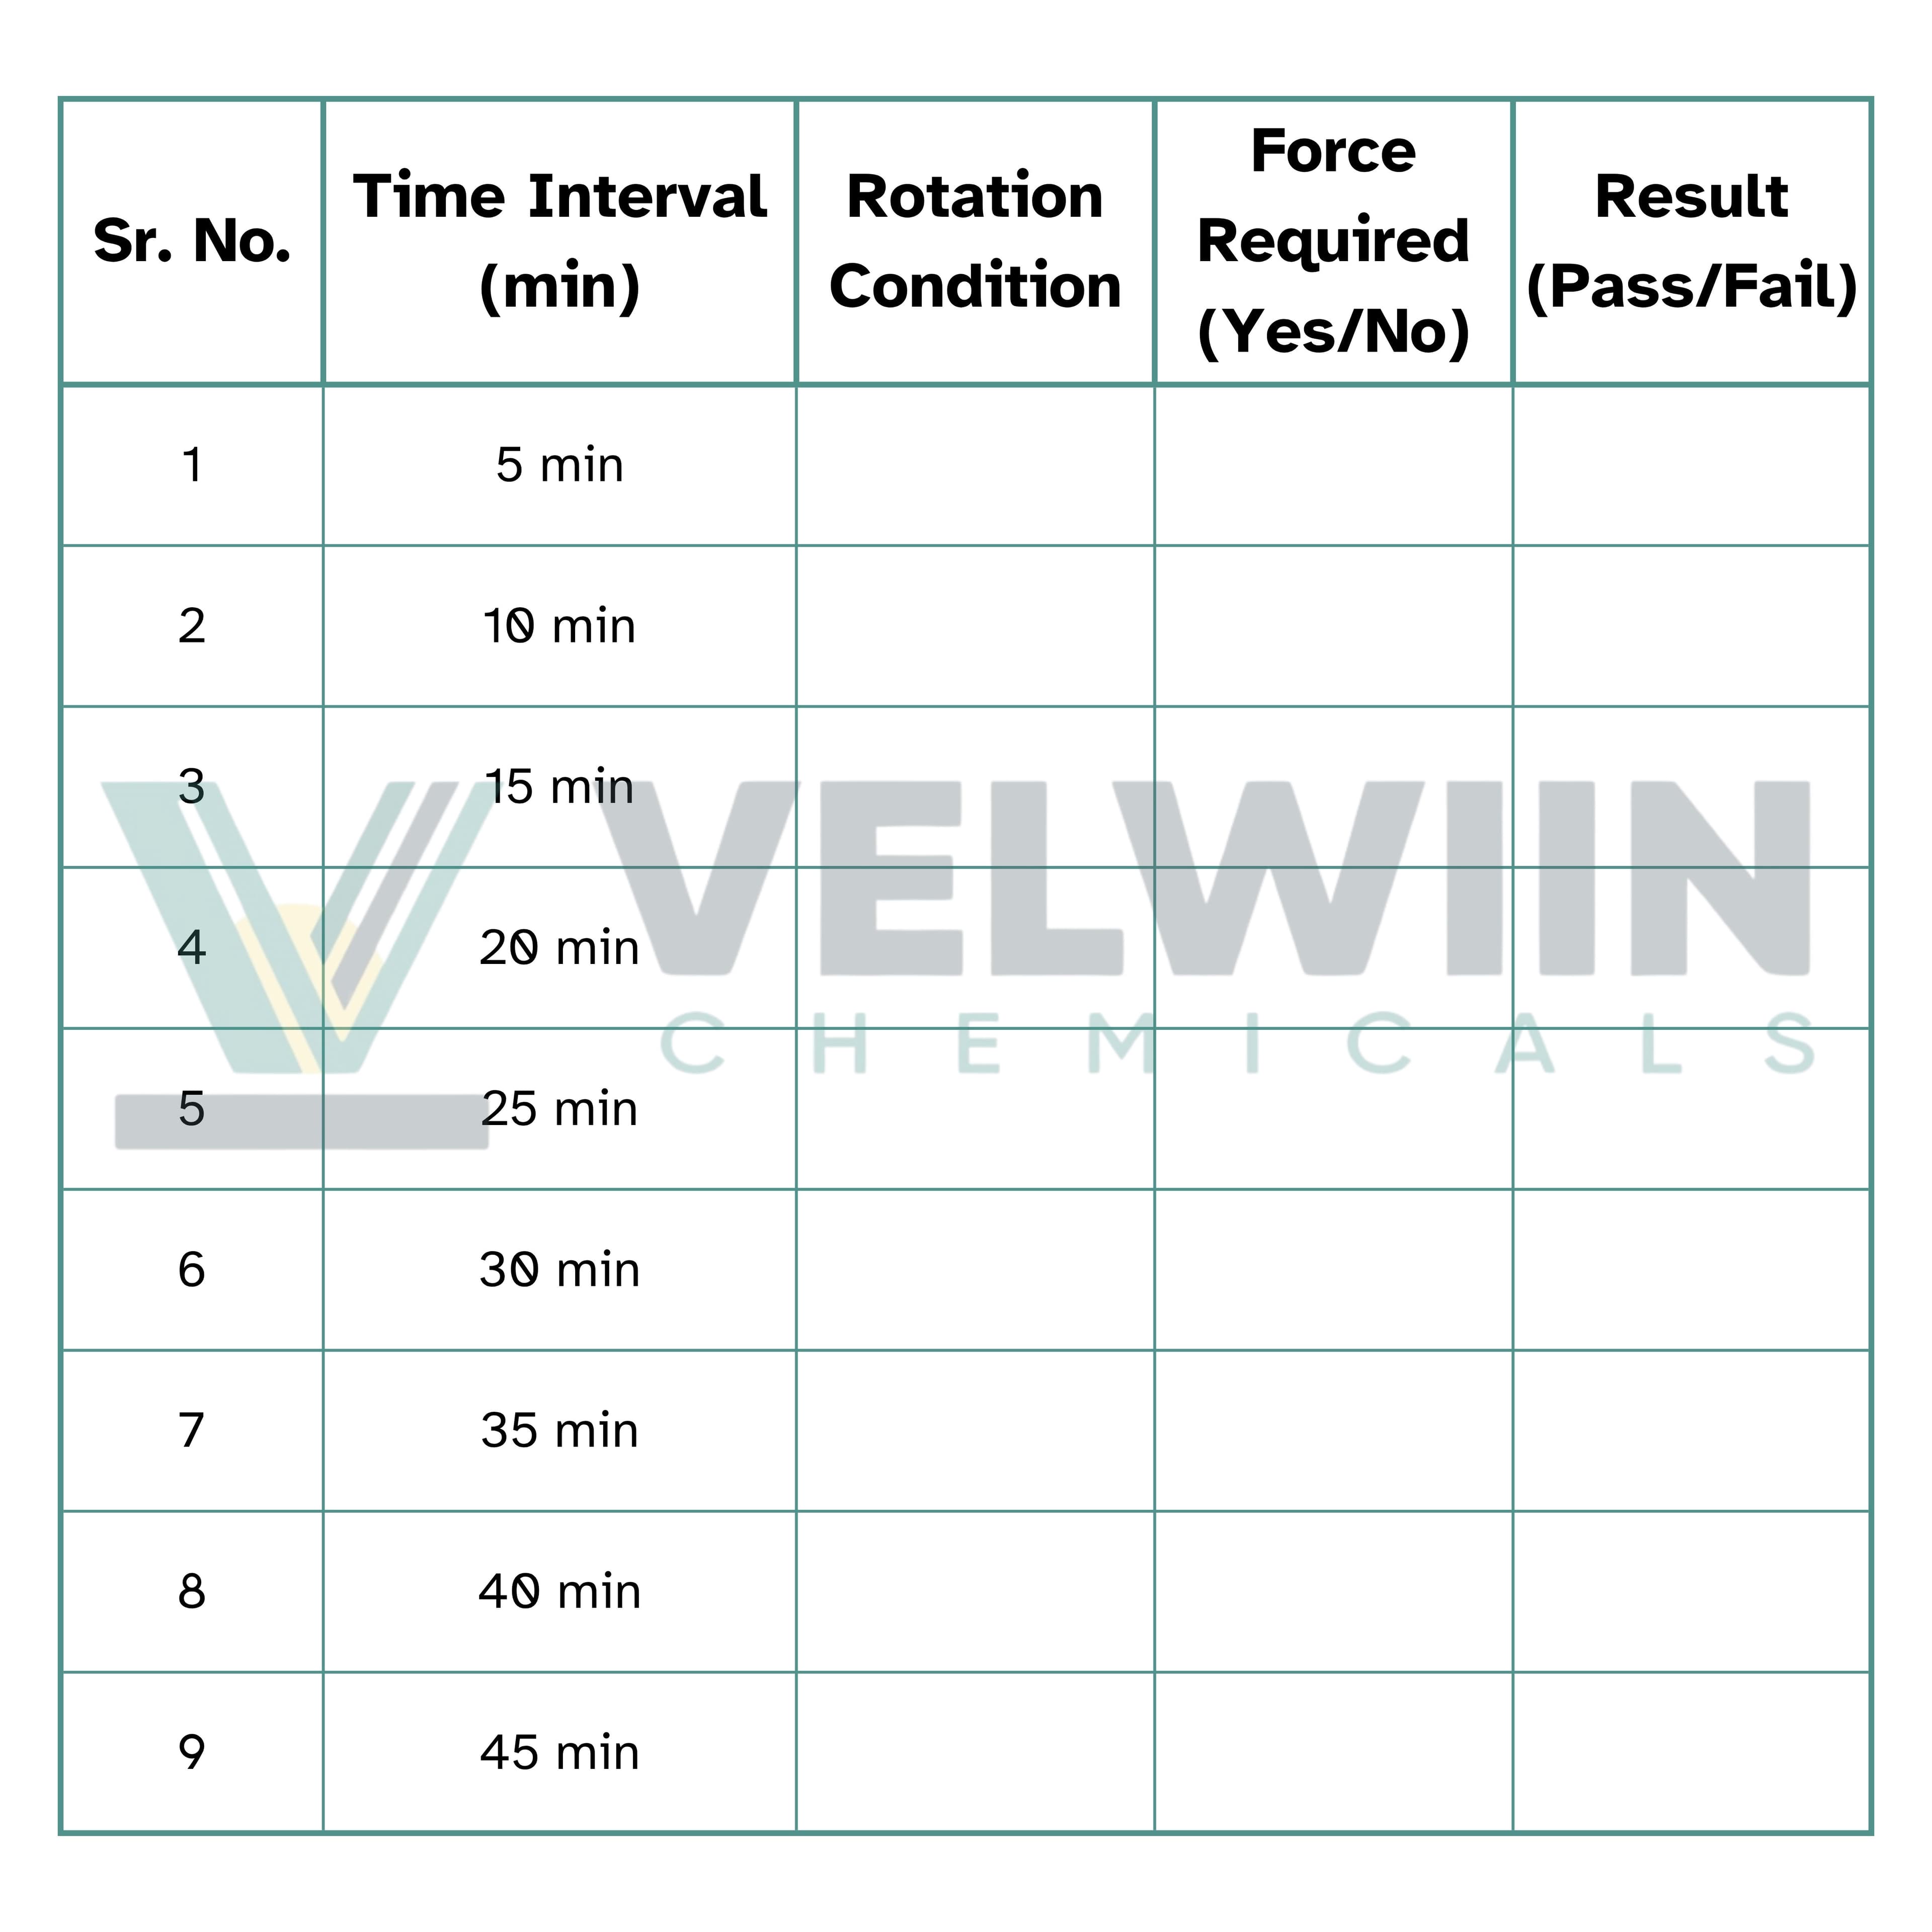
4. Observation Table

Image 1

5. Result

The adjustment time is evaluated based on the ease of rotation of the tile piece.

Adjustment Time of Adhesive = ______ minutes
(Last time interval at which tile can be rotated easily without force)

6. Important Instructions

  • Tile piece should NOT be lifted, only rotated
  • Rotation must be 90° and then returned back
  • Apply only normal hand pressure
  • Same base process as open time test

STEP 1 – Adhesive Mixing

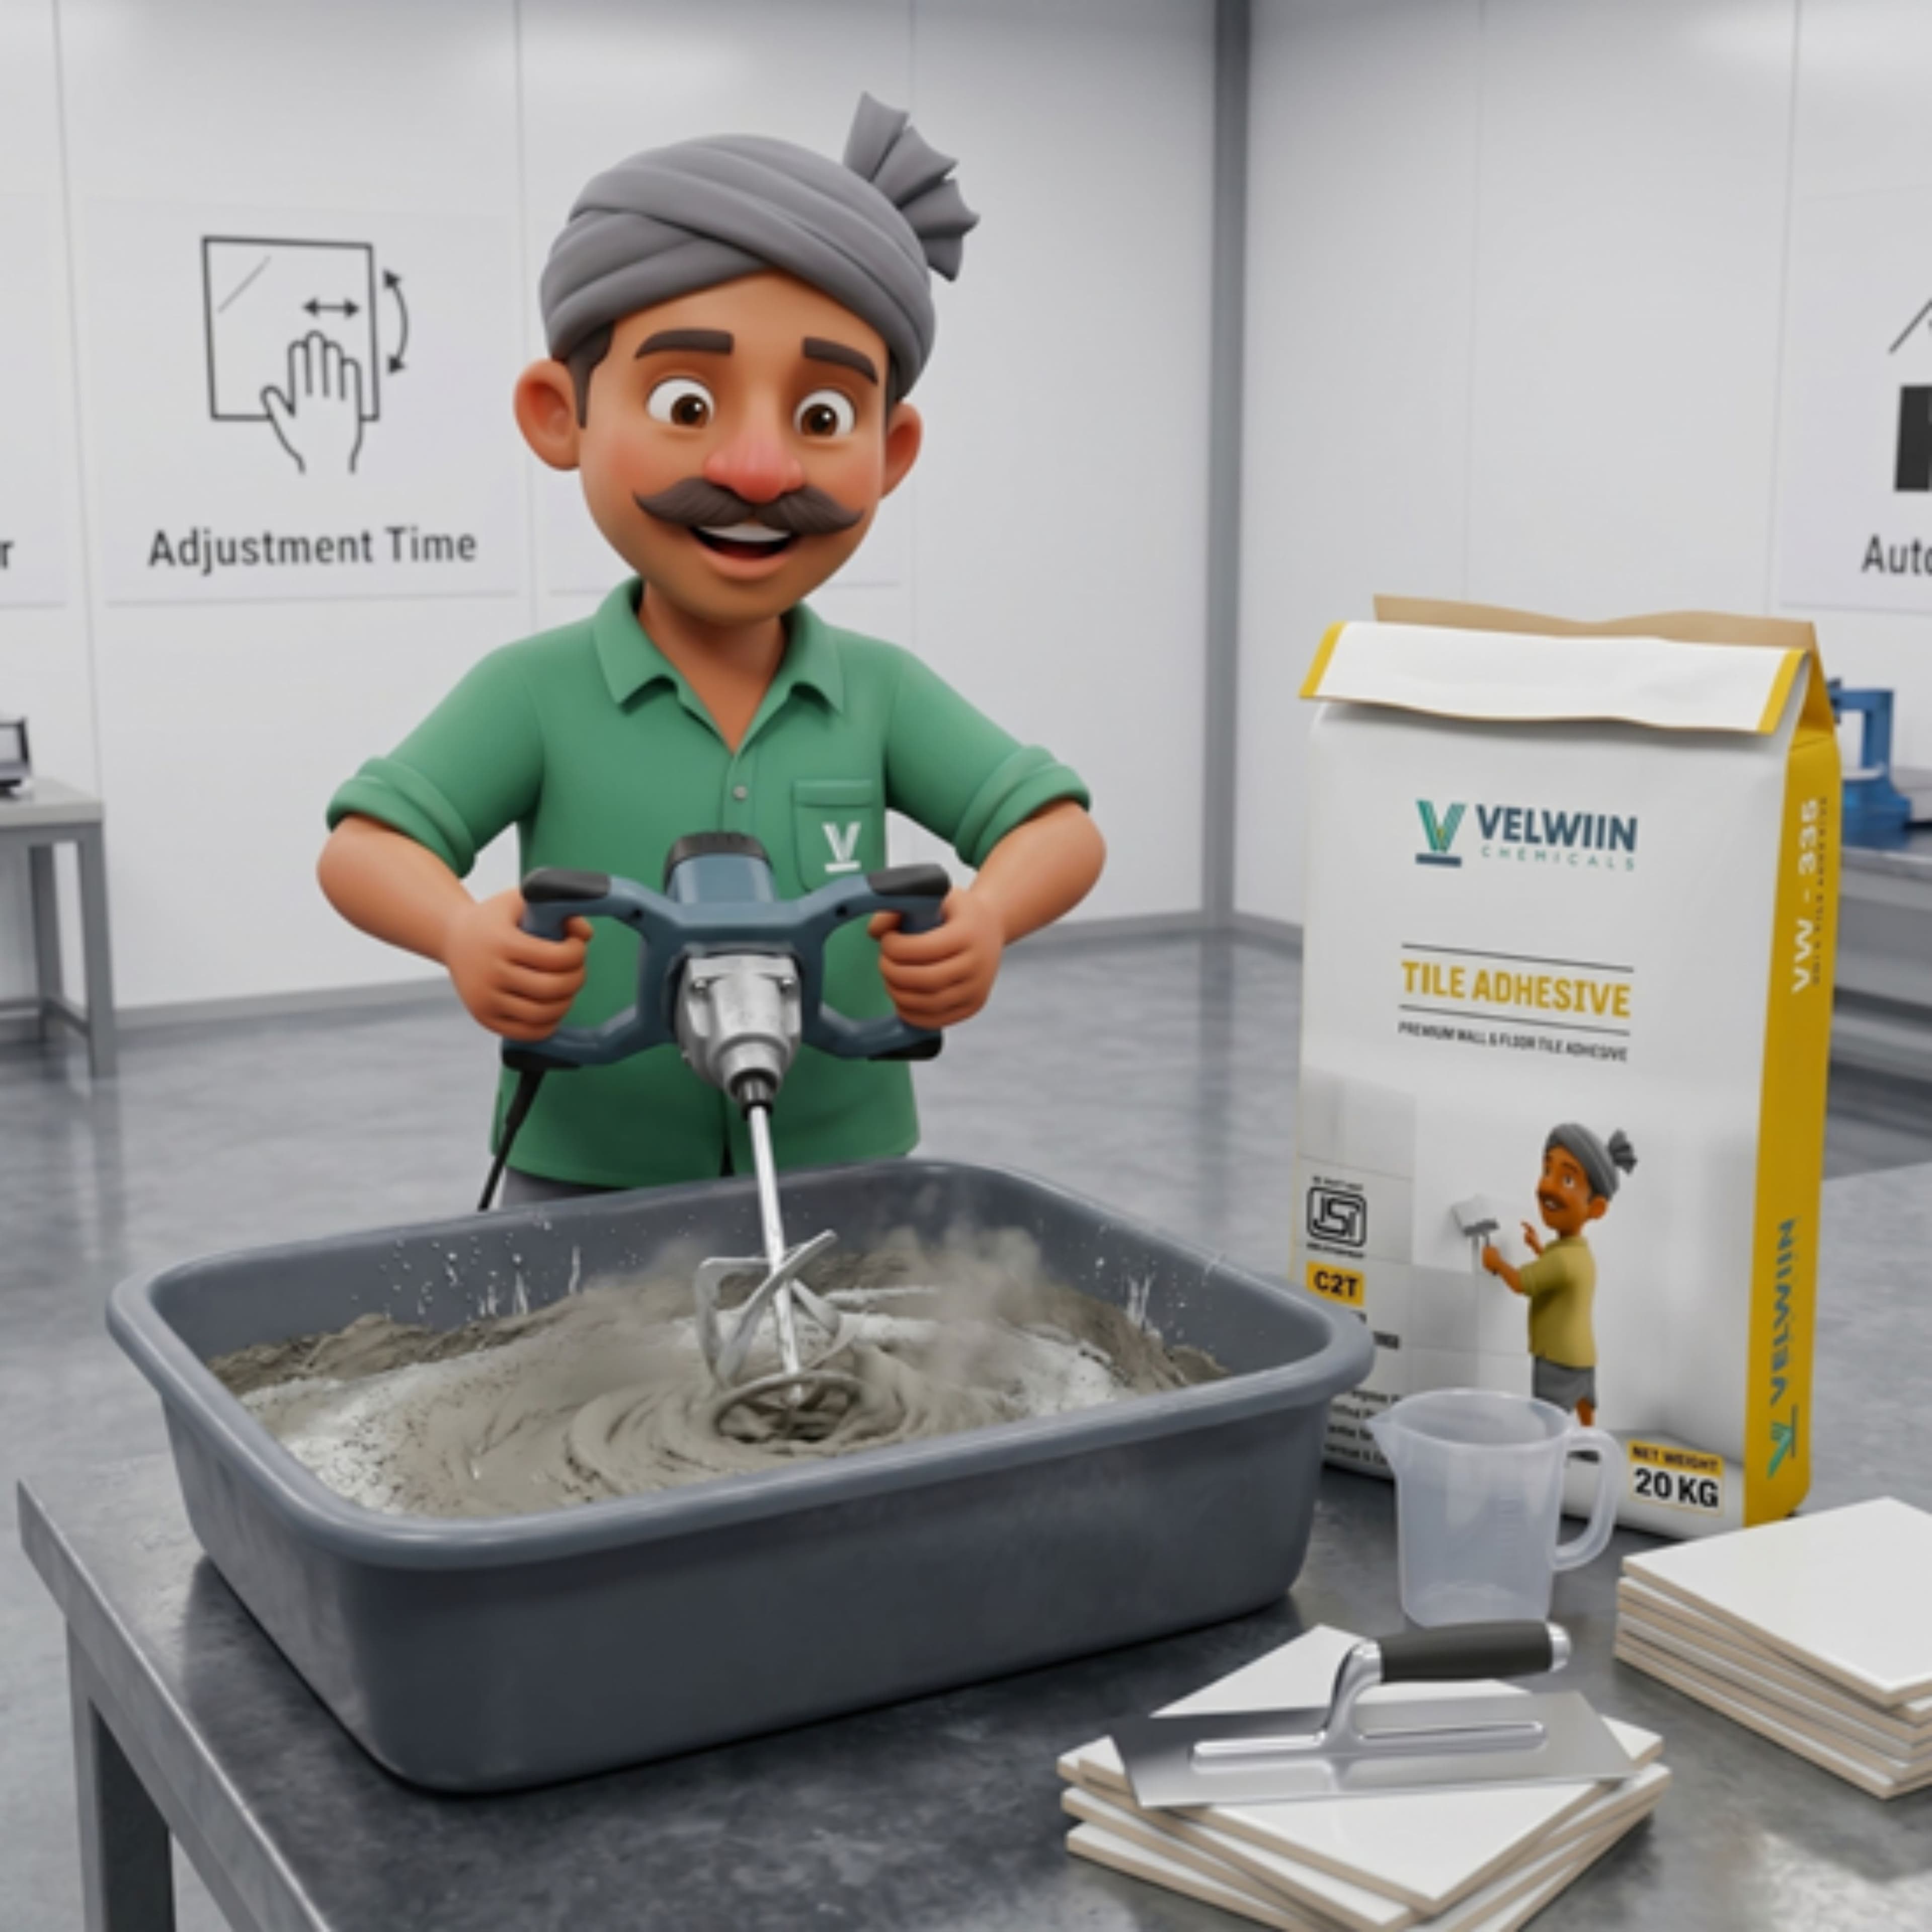
Mix the tile adhesive with clean water as per the recommended ratio until a smooth and uniform paste is formed. Allow the mixture to rest for 5–10 minutes and remix properly before use.  

STEP 2 – Adhesive Application

Apply the prepared adhesive evenly on a clean cement surface using a notched trowel at a 45° angle. Make sure proper adhesive ribs are formed for strong tile bonding.

STEP 3 – Tile Fixing

Place the ceramic tile carefully on the adhesive surface and press it gently using normal hand pressure to ensure proper contact and alignment.

STEP 4 – Tile Adjustment Time Check

After specific time intervals, rotate the tile 90° and return it to its original position without lifting it. If the tile can be adjusted easily without force, the adhesive adjustment time is considered satisfactory.

#tile adhesive open time#adhesive adjustment time#tile installation test methods#construction chemicals testing#velwiin chemicals lab procedure#tile fixing open time#ceramic tile adhesive testing

Have questions about this topic?

Our technical team can provide product recommendations and specifications tailored to your project requirements.

Contact Technical Team